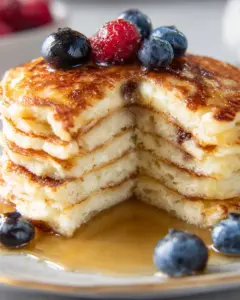
These 4th of July cake pops are the perfect festive treat for your Independence Day celebrations! Not only are they delicious and visually appealing, but they are also easy to make, making them suitable for gatherings, picnics, or family fun. With their colorful sprinkles and delightful cake flavor, these cake pops stand out on any dessert table. Whether you’re a seasoned baker or a beginner, you’ll love how simple it is to whip up these patriotic treats.

Jump to:
- Why You’ll Love This Recipe
- Tools and Preparation
- Essential Tools and Equipment
- Importance of Each Tool
- Ingredients
- For the Cake Mix
- For the Coating
- For the Filling
- Decorations
- How to Make 4th of July Cake Pops
- Step 1: Prepare the Cake Mix
- Step 2: Crumble the Cake
- Step 3: Combine with Cream Cheese
- Step 4: Form Cake Balls
- Step 5: Freeze Cake Balls
- Step 6: Melt Chocolate Coating
- Step 7: Add Coconut Oil
- Step 8: Insert Sticks into Cake Balls
- Step 9: Prepare for Dipping
- Step 10: Dip and Decorate
- Step 11: Let Them Dry
- Step 12: Serve
- How to Serve 4th of July Cake pops
- Fun Display Ideas
- Party Favors
- Themed Serving Plates
- How to Perfect 4th of July Cake pops
- Best Side Dishes for 4th of July Cake pops
- Common Mistakes to Avoid
- Refrigerator Storage
- Freezing 4th of July Cake pops
- Reheating 4th of July Cake pops
- Frequently Asked Questions
- Can I use different cake flavors for my 4th of July Cake pops?
- How do I make my 4th of July Cake pops more festive?
- What is the best way to transport 4th of July Cake pops?
- Can I customize the filling of my 4th of July Cake pops?
- Final Thoughts
- 📖 Recipe Card
Why You’ll Love This Recipe
- Easy to Make: With just a few steps, you can create beautiful cake pops that everyone will enjoy.
- Versatile: You can customize them with different colors and decorations for various occasions beyond the 4th of July.
- Crowd-Pleaser: These cake pops are perfect for parties and gatherings; they’re bite-sized and fun!
- No Special Skills Required: Anyone can make these delicious treats, making them great for baking with kids.
- Delicious Flavor: The combination of white chocolate and cream cheese makes these cake pops irresistibly tasty.
Tools and Preparation
Before you dive into creating your 4th of July cake pops, gather all necessary tools. Having everything ready makes the process smoother and more enjoyable.
Grab This Chef Knife Now - Almost Gone!
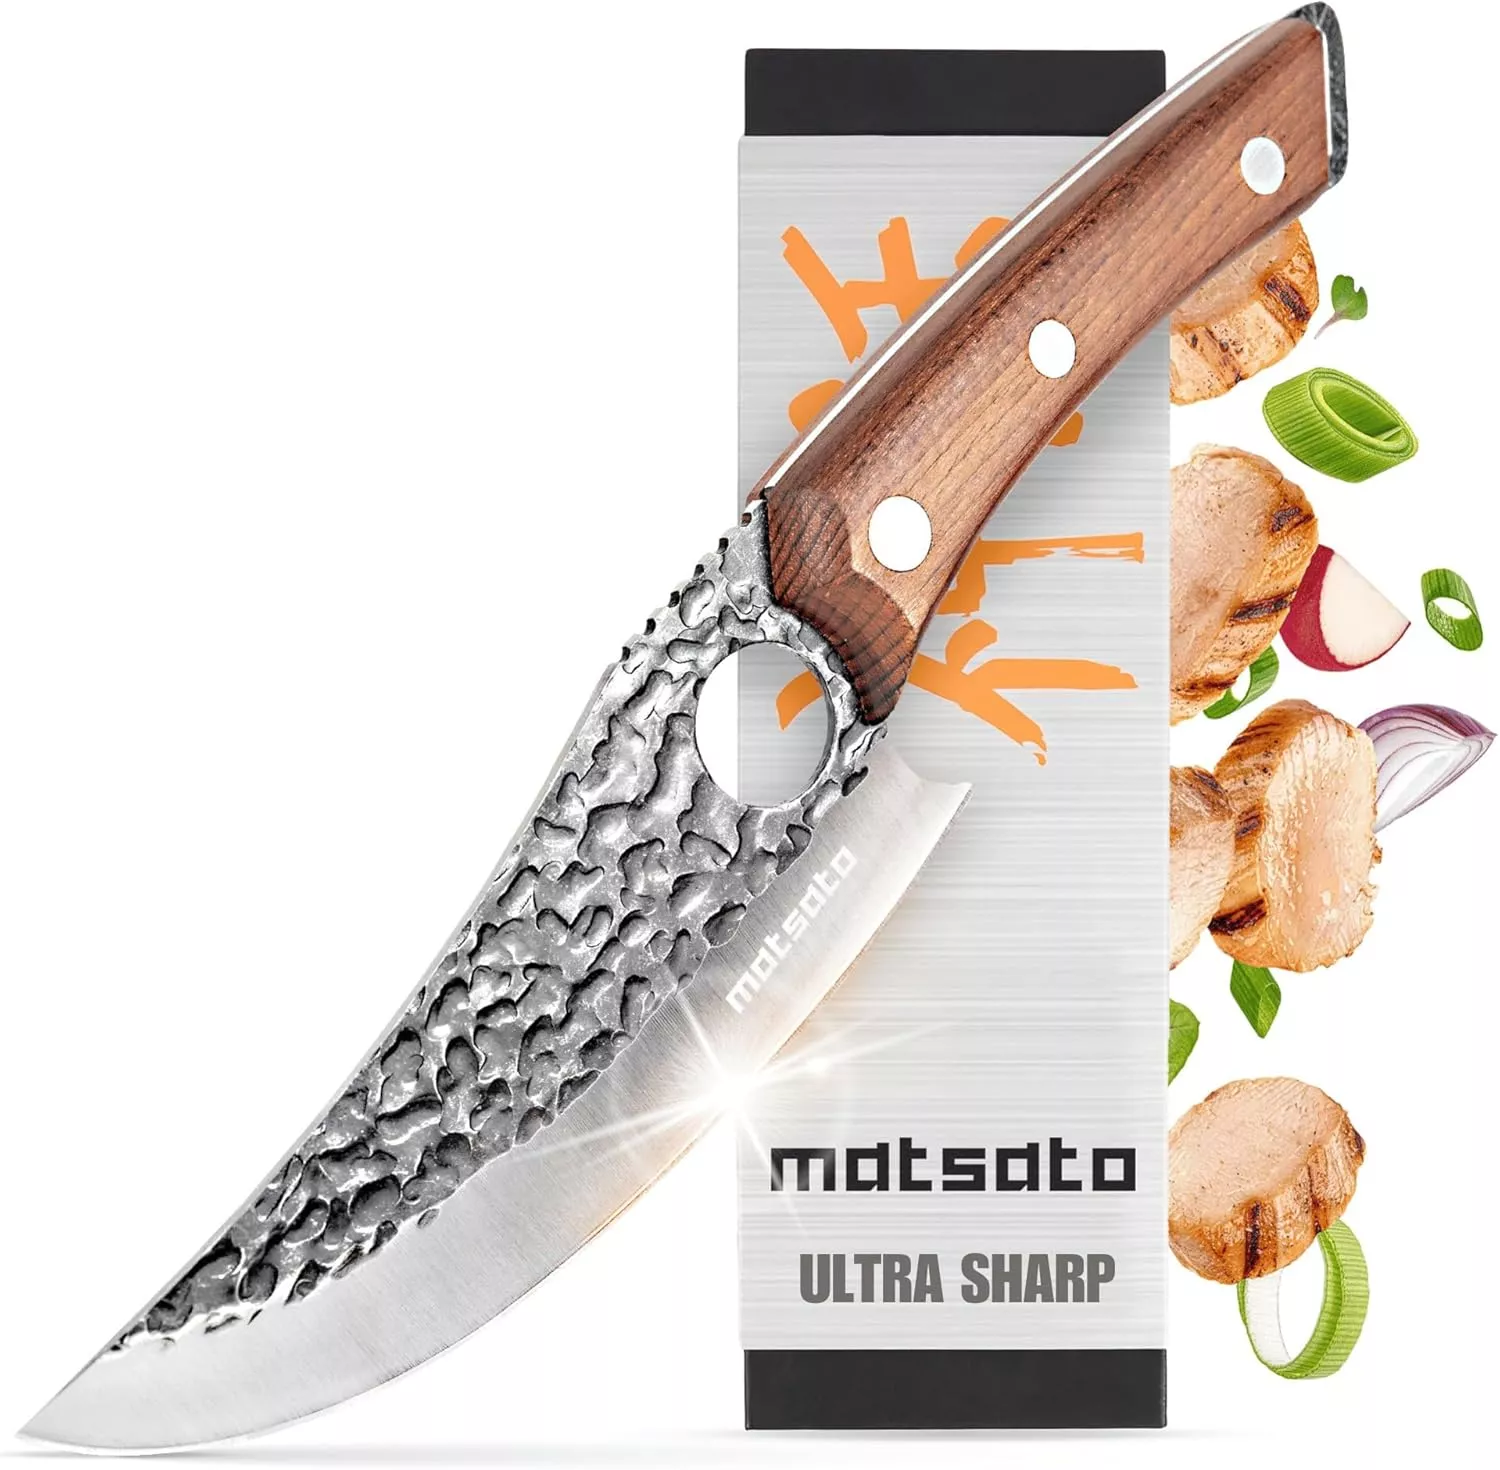
- Stays Razor-Sharp: Ice-hardened blade keeps its edge longer than ordinary knives
- Superior Grip Control: Unique finger hole design gives you perfect balance and safety
- Built to Last a Lifetime: Premium stainless steel blade with elegant beech wood handle
Customer Reviews ★★★★★
Essential Tools and Equipment
- Cake pop sticks
- Mixing bowl
- Baking sheet
- Microwave-safe bowl
- Cling wrap
Importance of Each Tool
- Mixing bowl: Essential for combining ingredients evenly and ensuring a smooth mixture.
- Baking sheet: Provides a flat surface for placing your formed cake balls before freezing.
- Microwave-safe bowl: Necessary for melting the chocolate without burning it, allowing for a smooth coating.
Ingredients
These 4th of July fun cake pops are so good and easy to make for your Independence Day dessert table!
For the Cake Mix
- 1 Duncan Hines Classic White cake box mix (or your preferred cake mix, simply follow the directions on the back of your cake box)
- 3 eggs
- 1/3 cup of vegetable oil
- 1 cup of water
For the Coating
- 1 10-oz bag of Ghirardelli white melting wafers
- 1 tablespoon of coconut oil
For the Filling
- 1/3 part of a 12-oz container of cream cheese
Decorations
- Patriotic sprinkles
- Cake pop sticks
How to Make 4th of July Cake Pops
Step 1: Prepare the Cake Mix
Follow the directions on the back of your cake mix package to bake the cake.
Step 2: Crumble the Cake
Let the baked cake cool completely. Once cooled, crumble it up in a mixing bowl until fluffy.
Grab This Chef Knife Now - Almost Gone!
- Stays Razor-Sharp: Ice-hardened blade keeps its edge longer than ordinary knives
- Superior Grip Control: Unique finger hole design gives you perfect balance and safety
- Built to Last a Lifetime: Premium stainless steel blade with elegant beech wood handle
Customer Reviews ★★★★★
Step 3: Combine with Cream Cheese
Mix in the cream cheese frosting until well combined. Ensure there are no dry bits remaining.
Step 4: Form Cake Balls
Take about 1 tablespoon of the mixture and roll it into a ball shape. Place each ball on a baking sheet. Repeat this step until all mixture is used up.
Step 5: Freeze Cake Balls
Place the formed cake balls into the freezer for about half an hour. This helps them harden slightly.
Step 6: Melt Chocolate Coating
Five minutes before removing from the freezer, melt the vanilla wafers in a microwave-safe bowl using 30-second intervals until fully melted.
Step 7: Add Coconut Oil
Once melted, stir in coconut oil to ensure a smooth dipping consistency.
Step 8: Insert Sticks into Cake Balls
Remove the hardened cake balls from the freezer. Carefully push one stick into each center.
Step 9: Prepare for Dipping
Stretch cling wrap over three cups to create holders. Set aside while preparing to dip.
Step 10: Dip and Decorate
Dip each cake ball into melted chocolate immediately after inserting sticks. Decorate with patriotic sprinkles while still wet.
Step 11: Let Them Dry
Place the dipped cake pops upright in cling wrap-covered cups to let them dry completely.
Step 12: Serve
Enjoy your deliciously festive 4th of July cake pops right away or store them in an airtight container until serving!
How to Serve 4th of July Cake pops
These delightful 4th of July cake pops are perfect for your Independence Day celebrations. They can be served in various fun ways to impress your guests and add a festive touch to your dessert table.
Fun Display Ideas
- Colorful Stand: Use a tiered cake stand to showcase the cake pops in vibrant colors, making them a centerpiece.
- Patriotic Cups: Place each cake pop in small red, white, and blue cups for easy serving.
- Dessert Table Arrangement: Arrange the cake pops alongside other desserts to create an eye-catching dessert spread.
Party Favors
- Individual Wrapping: Wrap each cake pop in clear cellophane and tie with patriotic ribbon for a cute party favor.
- Gift Bags: Include a few cake pops in decorative bags for guests to take home as a sweet treat.
Themed Serving Plates
- Star-Shaped Plates: Serve the cake pops on star-shaped plates to enhance the festive theme.
- Red, White, and Blue Tablecloths: Use themed tablecloths that match your cake pops for a cohesive look.

How to Perfect 4th of July Cake pops
To make sure your 4th of July cake pops are perfect every time, follow these simple tips.
- Chill Well: Ensure the cake balls are properly chilled before dipping; this helps maintain their shape.
- Use Quality Melting Wafers: Choose high-quality melting wafers for a smooth coating and great taste.
- Drizzle Technique: For added flair, drizzle contrasting chocolate over the coated cake pops after they dry.
- Experiment with Sprinkles: Use different types of sprinkles—stars, stripes, or glitter—to enhance the patriotic theme.
Best Side Dishes for 4th of July Cake pops
Alongside your delicious 4th of July cake pops, consider serving these fun side dishes that complement the festive spirit.
- Grilled Corn on the Cob: Sweet corn brushed with butter and spices adds a classic touch.
- Potato Salad: A creamy potato salad is always popular at summer gatherings.
- Coleslaw: Crisp coleslaw provides a refreshing crunch that pairs well with sweets.
- Fruit Skewers: Colorful fruit skewers offer a healthy option that balances out the desserts.
- Caprese Salad Bites: Fresh mozzarella, basil, and tomatoes drizzled with balsamic glaze make elegant bites.
- Hot Dogs or Burgers: Classic barbecue fare that everyone loves can round out your menu perfectly.
- Deviled Eggs: These savory bites are easy to prepare and always a hit at parties.
- Baked Beans: Sweet and smoky baked beans bring comfort food vibes to your gathering.
Common Mistakes to Avoid
Making 4th of July Cake pops can be simple, but there are a few common mistakes to watch out for.
- Skipping the cooling step: Not letting the cake cool completely can lead to soggy cake pops. Always allow the baked cake to cool before crumbling it.
- Overmixing the ingredients: Mixing the cake and cream cheese too much can make the mixture too sticky. Blend just until combined for the best texture.
- Insufficient chilling time: Failing to freeze the cake balls before dipping can cause them to fall apart. Freeze for at least 30 minutes to ensure they hold their shape.
- Not using enough wafers: Using too little melting wafers can make it difficult to coat your cake pops evenly. Make sure you have enough for a smooth dip.
- Ignoring stick placement: Placing sticks in the center is crucial for balance. Ensure that each stick is pushed deep into the center of each ball.
Refrigerator Storage
- Store cooled cake pops in an airtight container.
- They will last up to 5 days in the refrigerator.
Freezing 4th of July Cake pops
- Place them in a single layer on a baking sheet and freeze until solid.
- Once frozen, transfer them to a freezer-safe bag or container for up to 3 months.
Reheating 4th of July Cake pops
- Oven: Preheat your oven to 350°F (175°C). Warm them on a baking sheet for about 5-10 minutes.
- Microwave: Heat one at a time on a microwave-safe plate for about 10-15 seconds.
- Stovetop: Not recommended, as direct heat may ruin the coating.
Frequently Asked Questions
Can I use different cake flavors for my 4th of July Cake pops?
Yes, feel free to experiment with any flavor of cake mix! Chocolate or red velvet could add exciting variety.
How do I make my 4th of July Cake pops more festive?
You can add red, white, and blue sprinkles or drizzle colored chocolate over your cake pops for extra flair.
What is the best way to transport 4th of July Cake pops?
Use a sturdy container with dividers or place them upright in a foam block for safe travel.
Can I customize the filling of my 4th of July Cake pops?
Absolutely! You can mix in different frostings or add flavored extracts like vanilla or almond.
Final Thoughts
These 4th of July Cake pops are perfect for celebrating Independence Day with friends and family. Their festive appearance and delicious taste make them a great addition to any dessert table. Feel free to customize your cake pops with various flavors and toppings, making them truly your own!
Did You Enjoy Making This Recipe? Please rate this recipe with ⭐⭐⭐⭐⭐ or leave a comment.
📖 Recipe Card
Print4th of July Cake Pops

These 4th of July cake pops are the ultimate festive treat for your Independence Day celebrations! Bursting with patriotic colors and delightful flavors, these bite-sized wonders are a hit at any gathering. Easy to make and fun to decorate, they’re perfect for both seasoned bakers and beginners alike. With vibrant sprinkles and a delicious cream cheese filling enveloped in creamy white chocolate, these treats will surely impress your guests. Whether you’re hosting a picnic or simply celebrating at home, these cake pops add a sweet touch to your festive dessert table.
- Prep Time: 30 minutes
- Cook Time: 25 minutes
- Total Time: 55 minutes
- Yield: Approximately 12 cake pops 1x
- Category: Dessert
- Method: Baking
- Cuisine: American
Ingredients
- 1 Duncan Hines Classic White cake mix (or your preferred cake mix)
- 3 eggs
- 1/3 cup vegetable oil
- 1 cup water
- 10 oz Ghirardelli white melting wafers
- 1 tablespoon coconut oil
- 1/3 container (4 oz) cream cheese
- Patriotic sprinkles
Instructions
- Preheat the oven and bake the cake according to package instructions.
- Allow the cake to cool completely before crumbling it into a mixing bowl.
- Combine crumbled cake with cream cheese until well mixed.
- Roll mixture into balls and place on a baking sheet; freeze for 30 minutes.
- Melt white chocolate wafers with coconut oil in intervals until smooth.
- Insert sticks into chilled cake balls, dip in melted chocolate, and decorate with sprinkles.
- Let them dry upright in cups before serving.
Nutrition
- Serving Size: 1 serving
- Calories: 150
- Sugar: 14g
- Sodium: 55mg
- Fat: 8g
- Saturated Fat: 5g
- Unsaturated Fat: 2g
- Trans Fat: 0g
- Carbohydrates: 18g
- Fiber: <1g
- Protein: 2g
- Cholesterol: 30mg