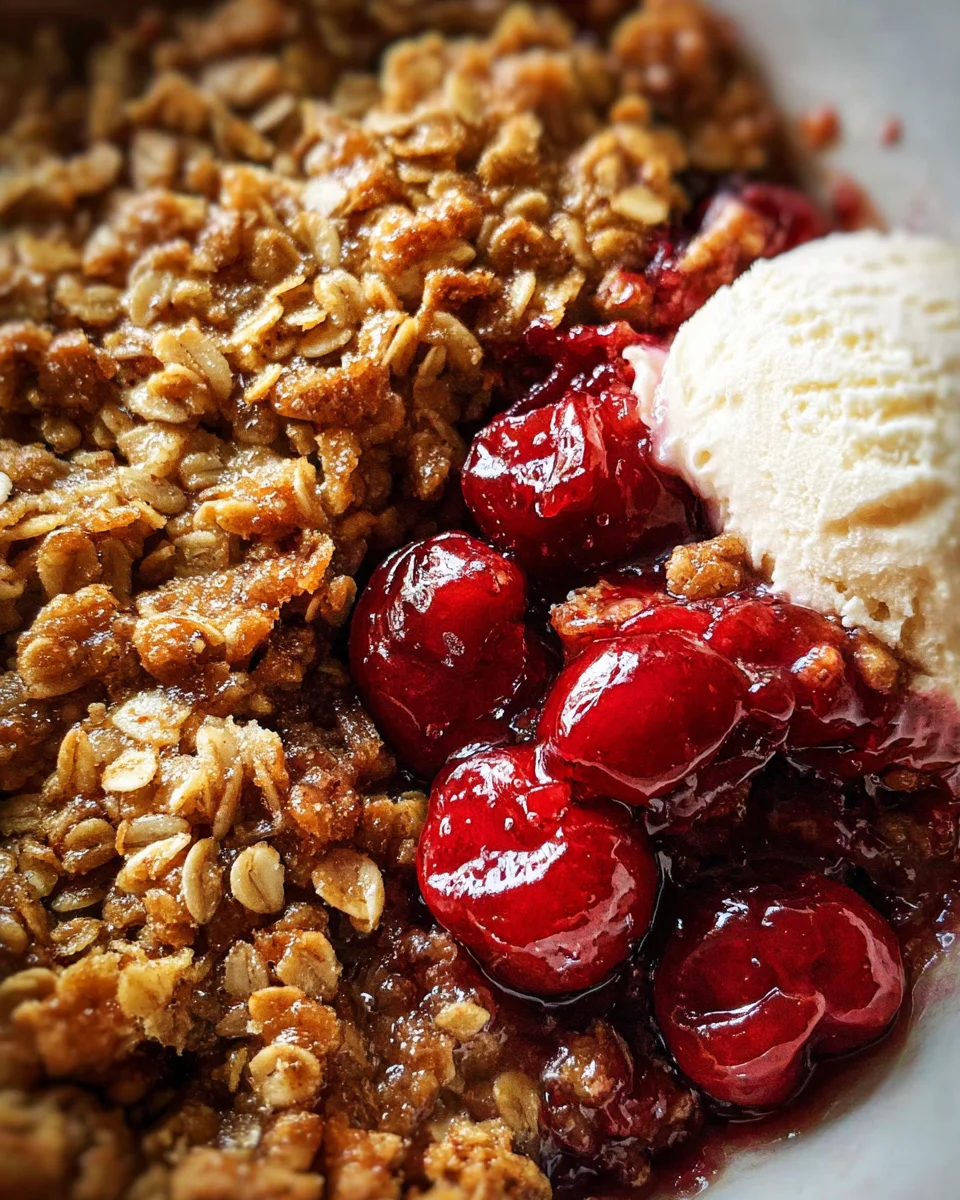
The Cherry Crisp Recipe is a delightful dessert that offers a perfect blend of sweet and tart flavors. This dish is not only easy to prepare but also versatile enough for various occasions, from family gatherings to cozy nights at home. The standout qualities of this recipe include its warm, comforting nature and the irresistible contrast between juicy cherries and a crunchy oat topping. Serve it warm with vanilla ice cream for an extra treat!
Jump to:
- Why You’ll Love This Recipe
- Tools and Preparation
- Essential Tools and Equipment
- Importance of Each Tool
- Ingredients
- For the Pastry:
- For the Filling:
- For the Topping:
- How to Make Cherry Crisp Recipe
- Step 1: Preheat the Oven
- Step 2: Prepare the Cherry Filling
- Step 3: Make the Topping
- How to Serve Cherry Crisp Recipe
- A La Mode
- With Whipped Cream
- Drizzled with Caramel Sauce
- Accompanied by Fresh Berries
- With Greek Yogurt
- As Breakfast Treat
- How to Perfect Cherry Crisp Recipe
- Best Side Dishes for Cherry Crisp Recipe
- Common Mistakes to Avoid
- Storage & Reheating Instructions
- Refrigerator Storage
- Freezing Cherry Crisp Recipe
- Reheating Cherry Crisp Recipe
- Frequently Asked Questions
- What is the best cherry type for this cherry crisp recipe?
- Can I use frozen cherries in this cherry crisp recipe?
- How do I customize my cherry crisp recipe?
- Can I make this cherry crisp recipe gluten-free?
- Final Thoughts
- 📖 Recipe Card
Why You’ll Love This Recipe
- Easy to Make: With simple ingredients and straightforward steps, anyone can whip up this cherry crisp in no time.
- Delicious Flavor: The combination of tart cherries and sweet oats creates a mouthwatering dessert that everyone will enjoy.
- Versatile Serving Options: Enjoy it warm on its own or topped with ice cream for a delightful twist.
- Perfect for All Occasions: Whether it’s a holiday gathering or a casual weeknight dessert, this cherry crisp fits right in.
- Healthier Dessert Choice: Using fresh cherries adds nutritional benefits, making this dessert a bit more wholesome.
Tools and Preparation
To create the perfect cherry crisp, you’ll need some essential tools. Having the right equipment makes the preparation process smoother and more enjoyable.
Essential Tools and Equipment
- Mixing bowl
- Baking dish (2-quart or 11×7-inch)
- Saucepan
- Whisk
- Knife
Importance of Each Tool
- Mixing bowl: A large mixing bowl is essential for combining your ingredients effectively.
- Baking dish: Using the right baking dish ensures even cooking, giving you a perfectly baked cherry crisp every time.
- Saucepan: A saucepan is crucial for preparing the cherry filling, allowing you to cook it to the right consistency.
Ingredients
The delightful contrast of juicy tart cherries and a crunchy oat topping creates an absolutely irresistible cherry crisp recipe. Serve it warm with your favorite vanilla ice cream!
For the Pastry:
- 1/4 teaspoon salt
- 1/2 cup packed brown sugar
- 1 cup all-purpose flour
- 1/2 cup cold butter, cubed
For the Filling:
- 1 cup sugar
- 1/4 cup cornstarch
- 1 cup cherry juice blend
- 4 cups pitted tart red cherries
For the Topping:
- 1-1/2 cups quick-cooking rolled oats
- 1/2 cup packed brown sugar
- 1/4 cup all-purpose flour
- 5 tablespoons butter, melted
How to Make Cherry Crisp Recipe
Step 1: Preheat the Oven
Preheat your oven to 350°F degrees. In a mixing bowl, combine salt, sugar, and flour. Cut in the cold butter until the mixture becomes crumbly. Press this dough into a greased 2-quart or 11×7-inch baking dish. Bake for 15 minutes.
Step 2: Prepare the Cherry Filling
While the pastry bakes, take a saucepan and combine sugar with cornstarch. Stir in the cherry juice blend and cook over medium heat until thickened, stirring constantly. Once thickened, fold in the tart cherries and pour this mixture over your baked crust.
Step 3: Make the Topping
In a small bowl, mix together oats, brown sugar, and flour for your topping. Cut in cold butter until crumbly. Sprinkle this mixture evenly over the filling layer. Bake for an additional 20 to 25 minutes or until golden brown and bubbly around the edges.
This Cherry Crisp Recipe serves eight people and takes just 25 minutes of prep time along with 20 minutes of baking time. Enjoy this classic dessert!
How to Serve Cherry Crisp Recipe
Cherry crisp is a versatile dessert that can be enjoyed in various delightful ways. Whether you’re hosting a dinner party or enjoying a cozy night in, these serving suggestions will elevate your cherry crisp experience.
A La Mode
- Serve warm cherry crisp topped with a generous scoop of vanilla ice cream for a classic combination that enhances the sweet and tart flavors.
With Whipped Cream
- Add a dollop of freshly whipped cream on top for an airy finish. The lightness of the cream balances the richness of the crisp.
Drizzled with Caramel Sauce
- A drizzle of caramel sauce adds a touch of indulgence. The sweetness complements the tart cherries beautifully.
Accompanied by Fresh Berries
- Serve alongside fresh berries like blueberries or strawberries for added texture and freshness, creating a vibrant plate.
With Greek Yogurt
- For a healthier twist, top your cherry crisp with Greek yogurt. It adds creaminess and a bit of tang to the dish.
As Breakfast Treat
- Enjoy leftover cherry crisp as a breakfast option. Pair it with yogurt or milk for a delicious start to your day.
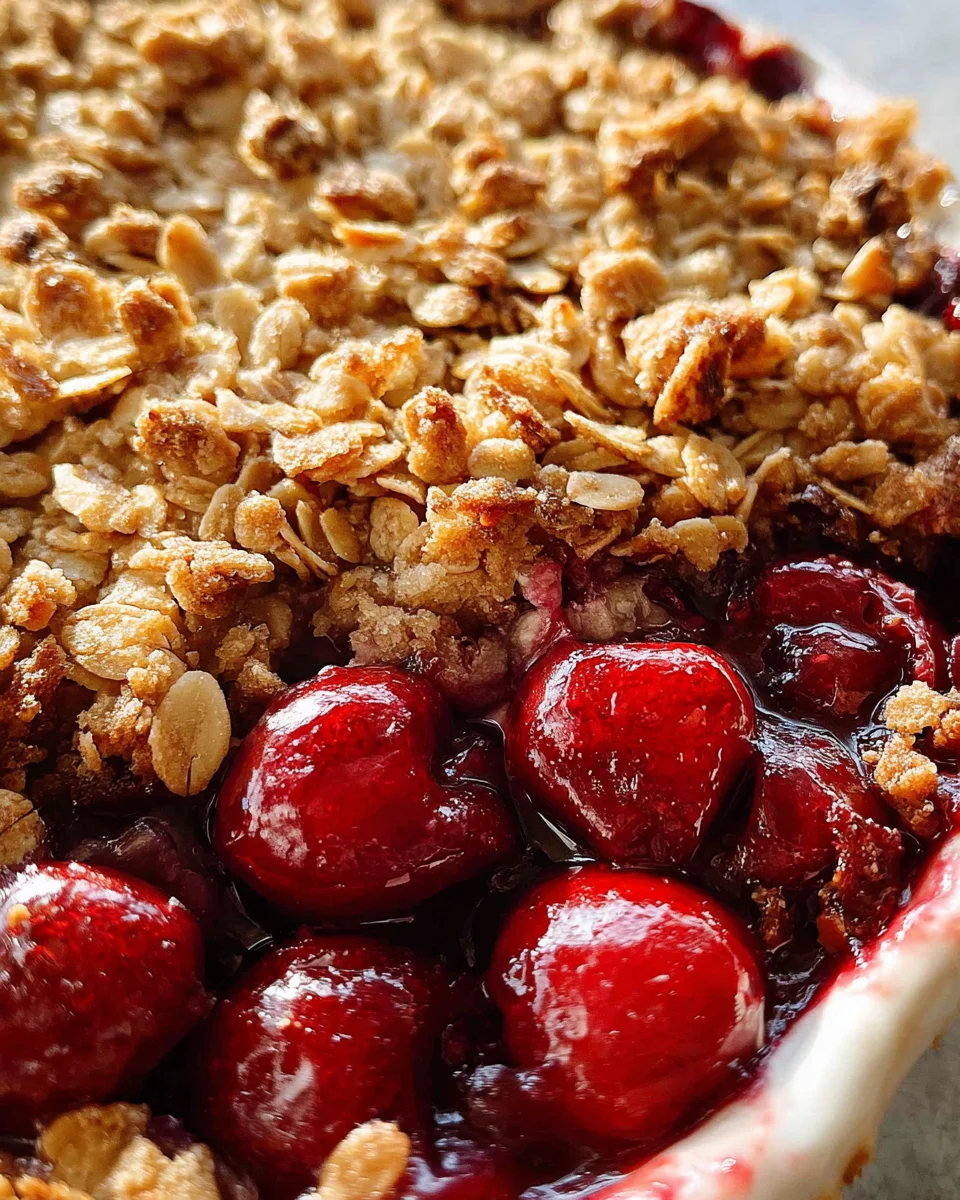
How to Perfect Cherry Crisp Recipe
To make your cherry crisp truly exceptional, consider these helpful tips:
-
Use Fresh Cherries: Fresh tart cherries give the best flavor. If you can’t find them, frozen cherries work well too.
-
Chill Your Butter: Using cold butter helps create a flaky topping. This ensures that your topping is crunchy and not greasy.
-
Don’t Overmix: When combining ingredients, mix just until blended to maintain texture. Overmixing can lead to tough pastry.
-
Add Spices: Consider adding cinnamon or nutmeg to your filling for extra warmth and depth of flavor.
-
Let It Rest: Allow the cherry crisp to sit for about 10 minutes after baking. This helps it set and makes it easier to serve.
-
Experiment with Toppings: Feel free to add nuts or coconut flakes into your topping mixture for additional crunch and flavor.
Best Side Dishes for Cherry Crisp Recipe
Pairing side dishes with your cherry crisp can enhance its enjoyment. Here are some delightful options:
- Vanilla Ice Cream: A classic pairing that adds creaminess and balances the tartness of the cherries.
- Chocolate Sauce: Drizzling chocolate sauce over the top adds rich sweetness that complements the fruit nicely.
- Cinnamon Rolls: Warm cinnamon rolls provide a comforting touch alongside this fruity dessert.
- Fruit Salad: A refreshing fruit salad can lighten up the meal, offering contrasting textures and tastes.
- Cheese Platter: A selection of cheeses can create an interesting flavor contrast when served alongside cherry crisp.
- Pancakes: Fluffy pancakes make for an extravagant breakfast option when served with cherry crisp on top.
- Coffee or Tea: A hot beverage like coffee or herbal tea pairs nicely, adding warmth and depth to your dessert experience.
- Savory Scones: Lightly herbed scones can act as a delightful counterpoint to the sweetness of the cherry crisp.
Common Mistakes to Avoid
When making a cherry crisp recipe, some common mistakes can ruin your dessert. Here are a few to watch out for:
- Using soft butter: Softened butter can make the crust greasy. Always use cold, cubed butter for a flaky texture.
- Skipping the pre-bake: Failing to pre-bake the pastry can lead to a soggy bottom. Bake it for 15 minutes before adding the filling.
- Not measuring ingredients properly: Inaccurate measurements can affect the crisp’s texture and flavors. Use measuring cups and spoons for accuracy.
- Overcooking or undercooking the topping: Baking too long can burn the topping, while too little time leaves it raw. Aim for a golden brown color for perfect crunchiness.
Storage & Reheating Instructions
Refrigerator Storage
- Store in an airtight container.
- Keep in the refrigerator for up to 3 days.
Freezing Cherry Crisp Recipe
- Allow the cherry crisp to cool completely.
- Wrap tightly in plastic wrap and then foil; it lasts up to 3 months in the freezer.
Reheating Cherry Crisp Recipe
- Oven: Preheat to 350°F, cover with foil, and heat for about 20 minutes.
- Microwave: Heat individual portions on high for 30-60 seconds; check frequently.
- Stovetop: Place in a skillet over low heat, stirring occasionally until warmed through.
Frequently Asked Questions
Here are some common questions about this cherry crisp recipe:
What is the best cherry type for this cherry crisp recipe?
Tart cherries work best due to their balance of sweetness and acidity, enhancing flavor.
Can I use frozen cherries in this cherry crisp recipe?
Yes! Frozen cherries are convenient and will work well. Just let them thaw slightly before using.
How do I customize my cherry crisp recipe?
You can add spices like cinnamon or nutmeg, or mix in other fruits like blueberries or peaches for variety.
Can I make this cherry crisp recipe gluten-free?
Absolutely! Substitute all-purpose flour with gluten-free flour blends for a delicious alternative.
Final Thoughts
This cherry crisp recipe is not only easy to make but also incredibly versatile. You can customize it with different fruits or toppings based on your preferences. Serve it warm with ice cream for an extra treat that everyone will enjoy!
Did You Enjoy Making This Recipe? Please rate this recipe with ⭐⭐⭐⭐⭐ or leave a comment.
📖 Recipe Card
PrintCherry Crisp Recipe
Indulge in a homemade Cherry Crisp Recipe that perfectly balances sweet and tart flavors, making it a delightful dessert for any occasion. This easy-to-make dish features juicy cherries topped with a crunchy oat mixture, creating a comforting and satisfying treat that’s perfect served warm with vanilla ice cream. Whether you’re hosting a family gathering or enjoying a cozy night in, this cherry crisp is sure to impress everyone at the table. With its simple ingredients and straightforward preparation steps, you’ll be enjoying this classic dessert in no time.
- Prep Time: 25 minutes
- Cook Time: 35 minutes
- Total Time: 1 hour
- Yield: Serves 8
- Category: Dessert
- Method: Baking
- Cuisine: American
Ingredients
- 4 cups pitted tart red cherries
- 1 cup sugar
- 1/4 cup cornstarch
- 1 cup all-purpose flour
- 1/2 cup cold butter (cubed)
- 1–1/2 cups quick-cooking rolled oats
- 1/2 cup packed brown sugar
- 1/4 teaspoon salt
Instructions
- Preheat the oven to 350°F. In a mixing bowl, combine salt, brown sugar, and flour. Cut in the cold butter until crumbly, then press into a greased baking dish. Bake for 15 minutes.
- In a saucepan, mix sugar and cornstarch; stir in cherry juice blend and cook over medium heat until thickened. Fold in tart cherries and pour over baked crust.
- For the topping, combine oats, brown sugar, flour, and melted butter; mix until crumbly. Sprinkle over the cherry filling and bake for an additional 20-25 minutes until golden brown.
Nutrition
- Serving Size: 1/8 of recipe (approximately 140g)
- Calories: 280
- Sugar: 25g
- Sodium: 150mg
- Fat: 12g
- Saturated Fat: 7g
- Unsaturated Fat: 4g
- Trans Fat: 0g
- Carbohydrates: 42g
- Fiber: 3g
- Protein: 3g
- Cholesterol: 30mg

