This Quick and Easy No-Knead Bread recipe is a game-changer for anyone looking to bake fresh bread without the hassle of kneading. Perfect for family dinners, brunches, or simply enjoying with your favorite spread, this bread delivers a crusty exterior and a soft, chewy interior. With just a few ingredients and minimal effort, you’ll impress your guests or treat yourself to bakery-quality bread right at home.

Jump to:
- Why You’ll Love This Recipe
- Tools and Preparation
- Essential Tools and Equipment
- Importance of Each Tool
- Ingredients
- For the Bread Dough
- How to Make Quick and Easy No-Knead Bread
- Step 1: Mix the Dough
- Step 2: Let the Dough Rise
- Step 3: Preheat the Oven
- Step 4: Shape the Dough
- Step 5: Transfer to Parchment Paper
- Step 6: Bake the Bread
- Step 7: Cool and Serve
- How to Serve Quick and Easy No-Knead Bread
- With Olive Oil and Balsamic Vinegar
- As a Sandwich Base
- Accompanying Soups and Stews
- Toasted with Garlic Butter
- With Cheese and Charcuterie Boards
- For Breakfast with Jam or Honey
- How to Perfect Quick and Easy No-Knead Bread
- Best Side Dishes for Quick and Easy No-Knead Bread
- Common Mistakes to Avoid
- Storage & Reheating Instructions
- Refrigerator Storage
- Freezing Quick and Easy No-Knead Bread
- Reheating Quick and Easy No-Knead Bread
- Frequently Asked Questions
- What makes Quick and Easy No-Knead Bread different?
- Can I use all-purpose flour instead of bread flour?
- How do I know when my dough has risen enough?
- What if my bread doesn’t rise properly?
- Final Thoughts
- 📖 Recipe Card
Why You’ll Love This Recipe
- Simple Preparation: You only need a few minutes to mix the ingredients, making it a perfect choice for busy days.
- No Kneading Required: Say goodbye to tiring kneading; this recipe requires none!
- Versatile Flavor: Enjoy it plain or customize with herbs, cheese, or spices to suit your taste.
- Great for Beginners: Even if you’re new to baking, you can master this easy recipe quickly.
- Perfectly Crusty: Achieve that desirable crusty exterior typical of artisan bread without any complicated techniques.
Tools and Preparation
Before diving into baking your delicious bread, gather the necessary tools. Having everything ready will make the process smooth and enjoyable.
Grab This Chef Knife Now - Almost Gone!
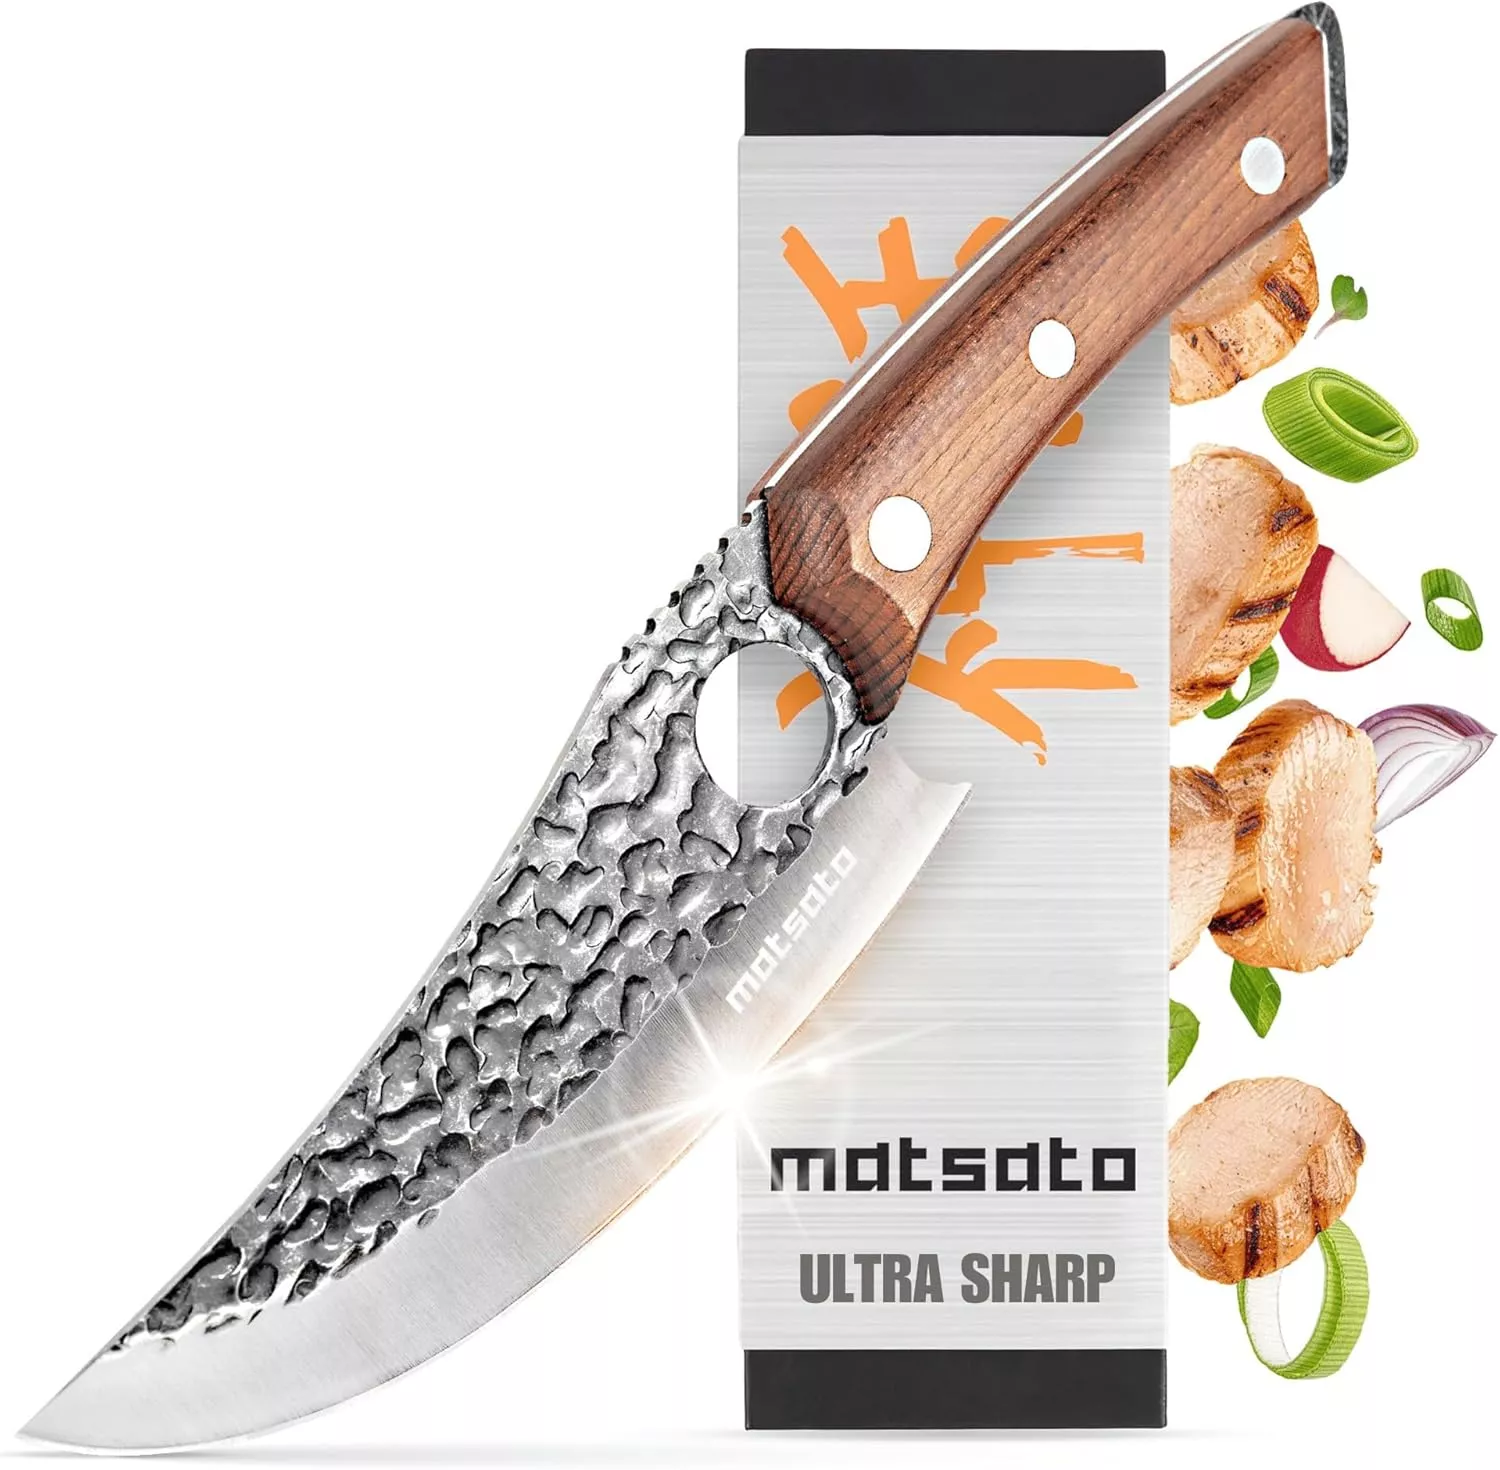
- Stays Razor-Sharp: Ice-hardened blade keeps its edge longer than ordinary knives
- Superior Grip Control: Unique finger hole design gives you perfect balance and safety
- Built to Last a Lifetime: Premium stainless steel blade with elegant beech wood handle
Customer Reviews ★★★★★
Essential Tools and Equipment
Importance of Each Tool
- Mixing bowl: A spacious bowl helps you combine all ingredients without spilling.
- Dutch oven with lid: This tool traps steam while baking, giving your bread its signature crust.
- Parchment paper: It prevents sticking and makes transferring the dough easy.
Ingredients
For the Bread Dough
- 3 cups bread flour
- 1 packet (2 teaspoons) rapid rise yeast
- 1 ½ teaspoons salt
- 1 ½ cups warm water
How to Make Quick and Easy No-Knead Bread
Step 1: Mix the Dough
In a large mixing bowl, combine the bread flour, rapid rise yeast, and salt. Add the warm water, then mix with a wooden spoon or spatula until a sticky dough forms. Don’t worry if it looks messy; that’s perfectly fine!
Step 2: Let the Dough Rise
Cover the bowl with a damp cloth. Let the dough rest in a draft-free place (like an oven that’s turned off) for 2-3 hours, or until it doubles in volume.
Step 3: Preheat the Oven
A few minutes before the rising time is complete, preheat your oven to 450°F (232°C). Place your Dutch oven (with the lid on) inside to heat up as well.
Grab This Chef Knife Now - Almost Gone!
- Stays Razor-Sharp: Ice-hardened blade keeps its edge longer than ordinary knives
- Superior Grip Control: Unique finger hole design gives you perfect balance and safety
- Built to Last a Lifetime: Premium stainless steel blade with elegant beech wood handle
Customer Reviews ★★★★★
Step 4: Shape the Dough
Lightly sprinkle flour on your countertop. Turn out the dough onto it. Gently fold the sides of the dough inward about six times to form a round loaf. If it sticks to your hands, dust them lightly with flour.
Step 5: Transfer to Parchment Paper
Use a dough scraper or large knife to transfer the dough onto a piece of parchment paper. Ensure there is enough paper hanging over the sides for lifting later.
Step 6: Bake the Bread
Carefully remove your hot Dutch oven from the oven. Using the parchment paper, transfer the dough into it. Place the lid on top and bake for 30 minutes. After that time, remove the lid and bake for an additional 15 minutes or until golden brown.
Step 7: Cool and Serve
Once baked, remove the bread from the Dutch oven using parchment paper. Allow it to cool on a wire rack before slicing.
Enjoy this delightful Quick and Easy No-Knead Bread fresh out of your kitchen!
How to Serve Quick and Easy No-Knead Bread
Serving Quick and Easy No-Knead Bread is a delightful experience, as it pairs well with various dishes and spreads. Here are some serving suggestions that will elevate your bread experience.
With Olive Oil and Balsamic Vinegar
- Drizzle high-quality olive oil and balsamic vinegar on a small plate for dipping. The richness of the oil complements the crusty bread beautifully.
As a Sandwich Base
- Use slices of this bread to make sandwiches. Fill them with your favorite meats, cheeses, and veggies for a hearty meal.
Accompanying Soups and Stews
- Serve warm slices alongside soups or stews. The bread is perfect for soaking up flavorful broths, adding a satisfying texture to your meal.
Toasted with Garlic Butter
- Spread garlic butter on slices and toast them until golden. This creates a deliciously crunchy treat that’s perfect as an appetizer or snack.
With Cheese and Charcuterie Boards
- Cut the bread into small pieces to serve on cheese and charcuterie boards. It pairs well with various cheeses, meats, and fruits for an elegant presentation.
For Breakfast with Jam or Honey
- Enjoy toasted slices of bread for breakfast topped with your favorite jams or honey. This sweet option is sure to start your day off right!

How to Perfect Quick and Easy No-Knead Bread
To achieve the best results with your Quick and Easy No-Knead Bread, consider these helpful tips.
- Use Fresh Ingredients: Ensure that your yeast is fresh for optimal rising. Expired yeast can lead to dense bread.
- Control Water Temperature: Use warm water (about 110°F) to activate the yeast properly without killing it.
- Let it Rise Properly: Allow the dough enough time to rise; this enhances flavor and texture significantly.
- Avoid Over-Flouring: Keep the dough sticky; over-flouring can result in dry bread.
- Preheat Your Dutch Oven: A hot Dutch oven creates steam, which helps achieve a crispy crust.
- Cool Before Slicing: Let the bread cool completely before slicing to maintain its structure.
Best Side Dishes for Quick and Easy No-Knead Bread
Pairing side dishes with Quick and Easy No-Knead Bread can enhance any meal you prepare. Here are some excellent options:
- Creamy Tomato Soup: A classic pairing that complements the crusty loaf perfectly, providing warmth and comfort.
- Garlic Herb Butter Shrimp: Juicy shrimp sautéed in garlic herb butter adds a savory touch that works well with fresh bread.
- Caesar Salad: Crisp romaine lettuce dressed in Caesar dressing contrasts beautifully with the chewy texture of the bread.
- Beef Stew: A hearty beef stew offers rich flavors that are delicious when soaked up by slices of warm bread.
- Spinach Artichoke Dip: Serve this cheesy dip alongside toasted slices for an appetizer that everyone loves.
- Roasted Vegetables: Seasonal roasted veggies bring out vibrant flavors that pair nicely with homemade bread.
- Stuffed Bell Peppers: These colorful peppers filled with rice, beans, and spices provide a nutritious complement to your meal.
- Bruschetta Topping: Top toasted slices of this no-knead bread with tomatoes, basil, and mozzarella for a refreshing bite!
Common Mistakes to Avoid
Making Quick and Easy No-Knead Bread is simple, but common mistakes can lead to disappointing results. Here are some pitfalls to avoid.
- Ignoring the rising time: Don’t rush the dough. Allow it to rise for 2-3 hours for the best texture.
- Using cold water: Warm water activates the yeast. Ensure your water is warm (not hot) for optimal dough development.
- Over-flouring the surface: While some flour is necessary, too much can alter the dough’s texture. Use only as needed to prevent sticking.
- Not preheating the Dutch oven: Failing to preheat can result in a dense loaf. Always heat your Dutch oven while the bread rises.
- Skipping cooling time: Cutting into the bread too soon can make it gummy. Let it cool completely on a wire rack before slicing.
Storage & Reheating Instructions
Refrigerator Storage
- Store leftover bread in a resealable plastic bag or airtight container.
- It will last up to 3 days in the refrigerator.
Freezing Quick and Easy No-Knead Bread
- Wrap slices tightly in plastic wrap or aluminum foil before placing them in a freezer bag.
- This bread can be frozen for up to 3 months.
Reheating Quick and Easy No-Knead Bread
- Oven: Preheat your oven to 350°F (175°C). Place the bread directly on the rack for about 10-15 minutes until warmed through.
- Microwave: Heat slices on a microwave-safe plate for about 10-15 seconds. Avoid overheating to prevent toughening.
- Stovetop: Place slices in a skillet over low heat. Cover with a lid for a few minutes until warmed.
Frequently Asked Questions
What makes Quick and Easy No-Knead Bread different?
This bread requires no kneading, making it perfect for beginners or busy cooks. The long rise time develops flavor and texture without extra work.
Can I use all-purpose flour instead of bread flour?
Yes, you can substitute all-purpose flour, but the texture may be slightly different. Bread flour helps achieve that chewy crust.
How do I know when my dough has risen enough?
The dough should double in size and be puffy when ready. A gentle poke should leave an indentation that doesn’t spring back immediately.
What if my bread doesn’t rise properly?
If your dough doesn’t rise, check the yeast’s expiration date or ensure your water was warm enough during mixing.
Final Thoughts
The Quick and Easy No-Knead Bread recipe is not only simple but also incredibly versatile. Customize it by adding herbs, cheese, or seeds to make it uniquely yours! Try this easy recipe today; fresh homemade bread is just hours away!
Did You Enjoy Making This Recipe? Please rate this recipe with ⭐⭐⭐⭐⭐ or leave a comment.
📖 Recipe Card
PrintQuick and Easy No-Knead Bread

Discover the joy of baking with this Quick and Easy No-Knead Bread recipe. Perfect for those who want fresh, homemade bread without the labor of kneading, this recipe combines simplicity and deliciousness. With a crusty exterior and a soft, chewy interior, it’s an ideal accompaniment for family dinners, brunches, or even as a snack with your favorite spread. In just a few minutes of mixing and minimal effort, you can impress your guests or indulge yourself with bakery-quality bread right in your kitchen.
- Prep Time: 10 minutes
- Cook Time: 45 minutes
- Total Time: 55 minutes
- Yield: Approximately 12 servings 1x
- Category: Bread
- Method: Baking
- Cuisine: American
Ingredients
- 3 cups bread flour
- 1 packet (2 teaspoons) rapid rise yeast
- 1 ½ teaspoons salt
- 1 ½ cups warm water
Instructions
- In a large mixing bowl, combine the bread flour, yeast, and salt. Add warm water and mix until a sticky dough forms.
- Cover with a damp cloth and let it rise in a draft-free spot for 2-3 hours until doubled in size.
- Preheat your oven to 450°F (232°C) with a Dutch oven inside.
- Lightly flour your countertop and shape the dough into a round loaf by folding the sides inward.
- Transfer the dough onto parchment paper.
- Carefully place the dough in the hot Dutch oven, cover with the lid, and bake for 30 minutes. Remove the lid and bake for an additional 15 minutes until golden brown.
- Cool on a wire rack before slicing.
Nutrition
- Serving Size: 1 slice (50g)
- Calories: 130
- Sugar: 0g
- Sodium: 320mg
- Fat: 0.5g
- Saturated Fat: 0g
- Unsaturated Fat: 0g
- Trans Fat: 0g
- Carbohydrates: 26g
- Fiber: 1g
- Protein: 4g
- Cholesterol: 0mg